
Saturday, March 31, 2012
Thursday, March 29, 2012


Wednesday, March 28, 2012


DIY: COLLAR CRAY-CRAY
HELLO BEAUTIFUL!
so here is another DIY projects i did ages ago and forgot to capture the step but trust me, it is so easy like one two three a b c :P
so basically you need:
-collared shirt (the one on the pic is just the reference, they r the same but different colour)
- thread n needles (choose the same colour)
- pearls (this can be taken from any unused pearl necklace) or buttons or studs whichever you want it ;)
lets get started!

1. prepare the shirt
2. prepare the thread and the needles
3. take the buttons/pearls and place them at the corner of the collared, this will make everything easy :) then sew it, double sew it so it stays strong.
4. if you are using studs, you dont need any threads/needle/glue, just poke the studs onto the collar until it gets through to the other side of the collar and fold the studs so it stays
5. everything is really depending on the style of your choice.
samples are below :)

this is where the pearls are sewn all across the collar


this is just the edge of the collar


enjoy
x
fee
Tuesday, March 27, 2012
DIY: TWO TONED SHOES
hello beautiful!
today i am here going to show you how to turn your old / unworn shoes into these two toned and in fashion shoes.
all you need are:
- your unworn shoes that you dont mind painting it on
- acrylic (colours of your choice)
- masking tape
-brushes

1. prepare your shoes

2. prepare the "ingredients"

3. take the masking tape and place it few inches below the top. sizes are based on your likings

4. once all the shoes are done and ready


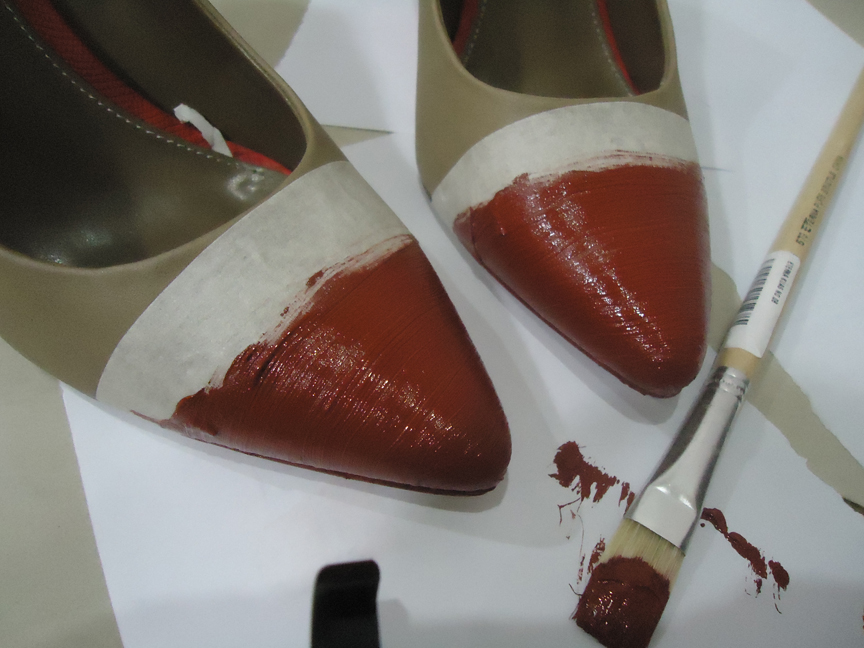
5. take the brush and put some acrylic on top. take little by little so you dont use too much
apply it on the shoes

6. leave it dries for the first layer
once dry, repeat until 3 layers and leave it dry

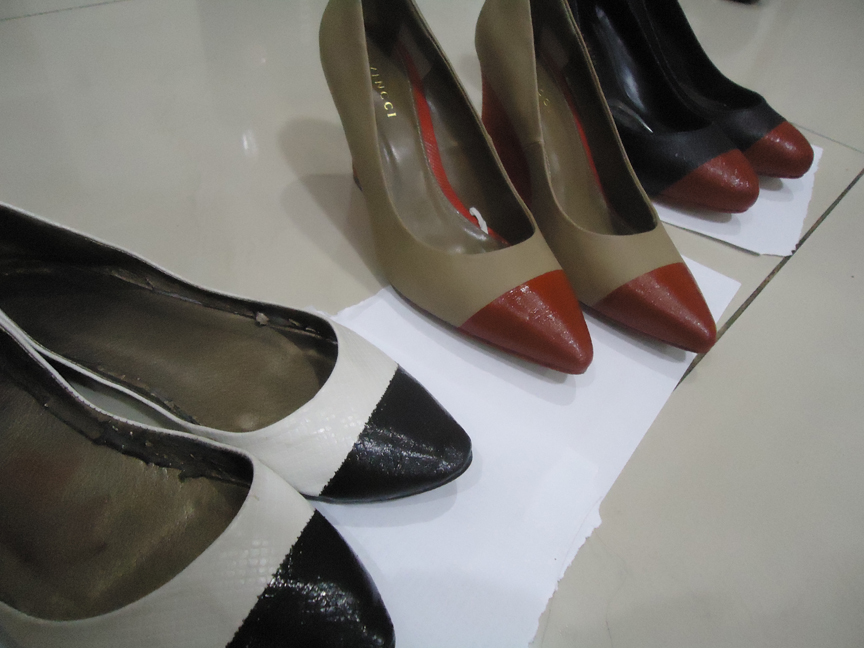

FINAL OUTCOME

enjoy
x
fee
Monday, March 26, 2012
DIY: tinted lipbalm
wonder what those are? well, it is my own homemade tinted lipbalm :)
what you need: some lipstick (colours of your choice) + vaseline / lipbalm + a small container + candle + a small ceramic plate + toothpick
lets get started!

1. cut the lipstick and place it on the ceramic plate. add the vaseline.
(in this, i add 50:50)

2. light the candle (yes i used the tiny candle for aromatherapy altho you can use microwave but i dont want my mommy to scream at me :P) use a holder (if you have in this case i use the thing to open? i dont know what you call it :P) n grab the ceramic plate with the lipstick n vaseline in it then place it on top of the candle.

3. wait until it melts and use a toothpick to stir :)

4. pour them into the container & place it in the fridge for only 5 minutes!

5. once done, you can use them right awayy :) i did 6 small container haha

7. if you want to make it more professional, get someone to do the design ;)

8. design by blueteacupdesign.blogspot.com / 0812 80540302
enjoy making your own DIY TINTED LIPBALM ;)
Tuesday, March 20, 2012


Subscribe to:
Posts (Atom)